

Hey there, car enthusiasts and detail lovers! 🚗✨ If you want to apply ceramic coating properly and give your ride that glossy, showroom shine while adding long-lasting protection, you’re in the right place. Ceramic coating is a game-changer, but doing it the right way makes all the difference.
In this guide, I’ll walk you through step-by-step how to apply ceramic coating like a pro. Whether you’re a DIYer or just curious about the process, I’ve got you covered. Plus, I’ll share some pro tips to avoid common mistakes.
Let’s dive in!
Why Ceramic Coating? The Professional Benefits
Before we get into the how, let’s talk about the why. Ceramic coating is a liquid polymer that bonds with your car’s paint, creating a hard, hydrophobic layer. The benefits?
✔ Extreme gloss (like a mirror finish)
✔ UV protection (prevents fading & oxidation)
✔ Chemical resistance (against bird droppings, bugs, and road grime)
✔ Easier cleaning (dirt and water slide right off)
Unlike wax or sealants that last weeks or months, a good ceramic coating can protect your car for 2-5 years!
What You’ll Need Before Starting
Applying ceramic coating isn’t hard, but prep work is everything. Here’s your checklist:
Materials & Tools
✅ Ceramic coating kit (brands like Gyeon, CarPro, or Adam’s Polishes are great)
✅ Microfiber towels (high-quality, lint-free)
✅ Isopropyl alcohol (IPA) solution (for final wipe-down)
✅ Clay bar & lubricant (to remove contaminants)
✅ Car shampoo & wash mitt (for a deep clean)
✅ Polisher & compound (if paint correction is needed)
✅ Foam applicator pads or suede cloth
✅ Gloves & masking tape (for precision)
Ideal Conditions
🌤 Indoor or shaded area (avoid direct sunlight)
🌡 Temperature between 50-80°F (10-27°C)
⏳ Enough time (4-6 hours, depending on car size)
Having the right tools is half the battle when learning how to apply ceramic coating properly.
How to Apply Ceramic Coating Properly: Step-by-Step
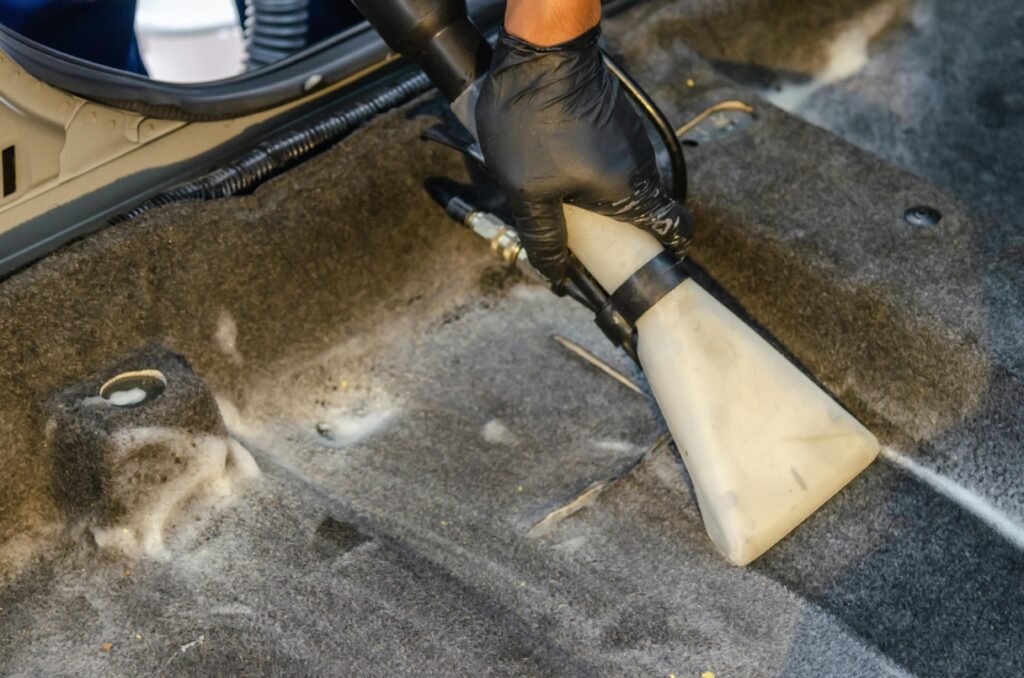
Step 1: Proper Washing Before Coating Application
Start with a foam cannon wash or two-bucket method to remove dirt and grime. Use a pH-neutral car shampoo to avoid stripping any existing protection.
💡 Pro Tip: If your car has heavy contamination, use an iron remover spray (like CarPro IronX) to dissolve brake dust and rail dust.
Step 2: Surface Decontamination for Perfect Coating
Even after washing, tiny embedded contaminants (like tree sap, tar, or industrial fallout) remain. A clay bar treatment will smooth out the paint.
- Spray clay lubricant on a small section.
- Gently glide the clay bar back and forth.
- Wipe clean with a microfiber towel.
Step 3: Paint Correction for Professional Results
If your car has swirl marks, scratches, or oxidation, now’s the time to polish it.
- Use a dual-action polisher with a cutting compound for deeper defects.
- Follow up with a fine polish for maximum gloss.
- Wipe off residue with an IPA solution (15-20% mix) to ensure a clean surface.
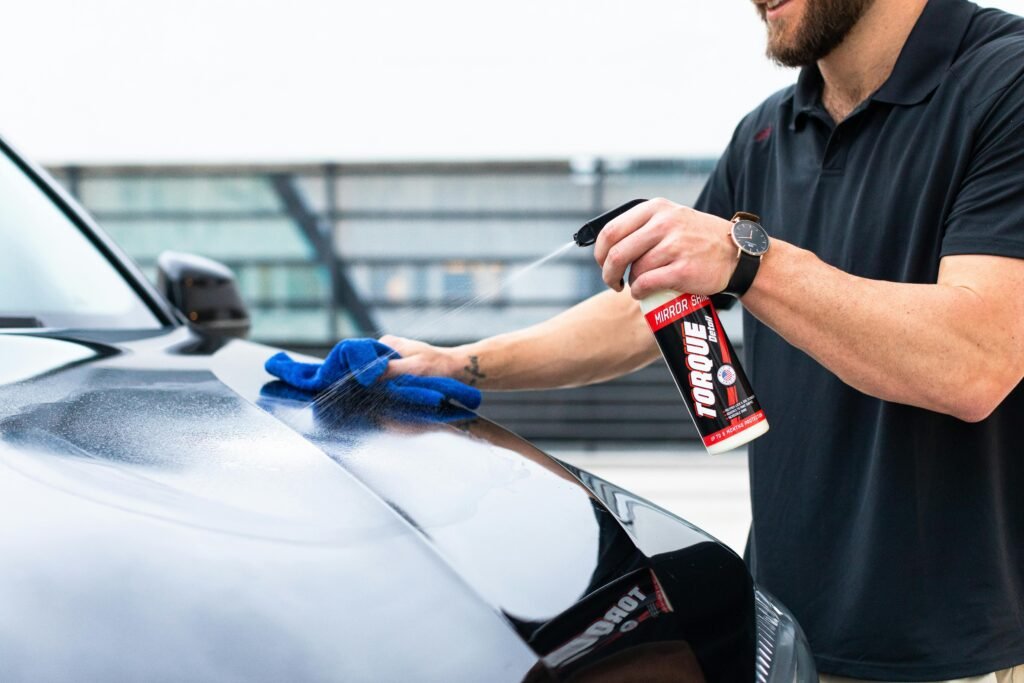
Step 4: Final Prep for Flawless Coating Application
Before applying the coating, remove all oils and residues with an isopropyl alcohol mix. This ensures maximum bonding.
- Spray IPA on a microfiber towel.
- Wipe down one panel at a time.
Step 5: How to Apply Ceramic Coating Like a Pro
Now for the main event!
- Shake the bottle well before use.
- Apply 2-3 drops on the applicator pad.
- Spread in straight, overlapping lines (not circular motions).
- Work in small sections (one panel at a time).
- Wait 1-2 minutes (check product instructions).
- Buff off gently with a clean microfiber towel.
💡 Pro Tip: Use masking tape on edges, trims, and plastics to avoid staining.
Step 6: Curing Your Properly Applied Coating
Most coatings need 24-48 hours to fully cure. Avoid:
🚫 Washing the car
🚫 Rain or water exposure
🚫 Parking under trees (sap & bird droppings)
Common Mistakes When Applying Ceramic Coatings
❌ Skipping paint correction → Coating locks in imperfections.
❌ Applying in direct sunlight → Causes premature drying & streaks.
❌ Using too much product → Leads to hazing & wasted coating.
❌ Not wearing gloves → Some coatings can irritate skin.
Many DIYers fail to apply ceramic coating properly because they rush the prep work…
How Long Does Ceramic Coating Last?
| Type of Coating | Durability |
|---|---|
| Consumer-grade | 1-2 years |
| Professional-grade | 2-5 years |
| SiO2 Spray Coating | 6-12 months |
To extend its life:
- Wash with ceramic-friendly shampoo (no harsh chemicals).
- Use a ceramic booster spray every few months.
- Avoid automatic car washes (brushes degrade the coating).
Avoid these 7 ceramic coating mistakes! 👉 Ceramic Coating Gone Wrong?
Final Thoughts
Ceramic coating is a game-changer for car protection and shine. If you follow these steps carefully, your car will stay slick and glossy for years.
Got questions? Drop them in the comments! And if you found this guide helpful, share it with fellow car lovers!
FAQ
Q: Can I apply ceramic coating myself?
A: Absolutely! Just follow the steps above and take your time.
Q: How often should I reapply ceramic coating?
A: Every 2-5 years, depending on the product and maintenance.
Q: Can ceramic coating remove scratches?
A: No, it only protects. Fix scratches before applying.
Q: Is ceramic coating better than wax?
A: Yes! It lasts longer, adds more protection, and enhances gloss.
Want to stay ahead in auto care?
While perfecting your ceramic coating skills, check out the latest innovations in our post:
Car Detailing Trends: What’s Hot in 2025
Would you like any product recommendations or video tutorials? Let me know below! 👇
*This page may contain affiliate links*
TWPadMA NiMMa oCRF BKgnX KJJcyg NmTX